

Want to organise your Digital Samba video conferencing better? Custom roles let you set permissions for different user groups, helping your meeting stay more organised. This guide explains how to use this useful dashboard tool. In just a few steps, you'll learn how setting up custom roles can boost your overall meeting experience. With custom roles, you can streamline access levels so everyone can interact smoothly.
Table of Contents- What are custom roles?
- When to use custom roles
- Managing roles in Digital Samba Dashboard
- Creating a new role
- Editing existing roles
- View existing roles
- Deleting a role
- Conclusion
What are custom roles?
The Digital Samba Dashboard comes with three default roles - Moderator, Speaker, and Attendee. These cover the most common use cases. However, you may want more flexibility to configure specific permissions for different users. This is where custom roles come in handy.
Custom roles allow you to create bespoke roles that are tailored to your needs. For example, you could make an ‘Assistant' role that has limited permissions or a 'Presenter' role with extra privileges. The customisation options are vast.
You can choose from an array of over 10 different permissions when creating a custom role:
- Broadcast
- Manage broadcast
- Start/End session
- Remove participants
- Share screen
- Record session
- Chat in general chat
- Remote mic/camera control
- Raise hand
- Edit whiteboard
- Manage edit-whiteboard permission
Preset roles are okay if you’re comfortable with Moderator, Speaker, and Attendee permissions. Custom roles give you more flexibility and control over your meetings.
When to use custom roles?
Anytime the default roles don't offer enough specialised permissions control for your use case, custom roles are the solution. You should consider using custom roles in the following situations:
- When you need more granular control over permissions than the default roles allow. Custom roles let you tweak permissions to achieve any access level required.
- When you host recurring events that require consistent rules. Custom roles let you save role configurations and reuse them.
- When you need to restrict access for compliance or security reasons. Custom roles enable detailed permissions management.
- For large events with many speakers, breakouts, or segments. Custom roles help organise complex events.
- When attendees need clearly defined participation options. The purpose of each custom role can be transparent.
Custom roles give you the tools to craft targeted roles with clear, consistent permissions. This leads to seamless sessions where everyone understands their remit. Ultimately, custom roles allow you to achieve the perfect participant setup for your unique virtual events.
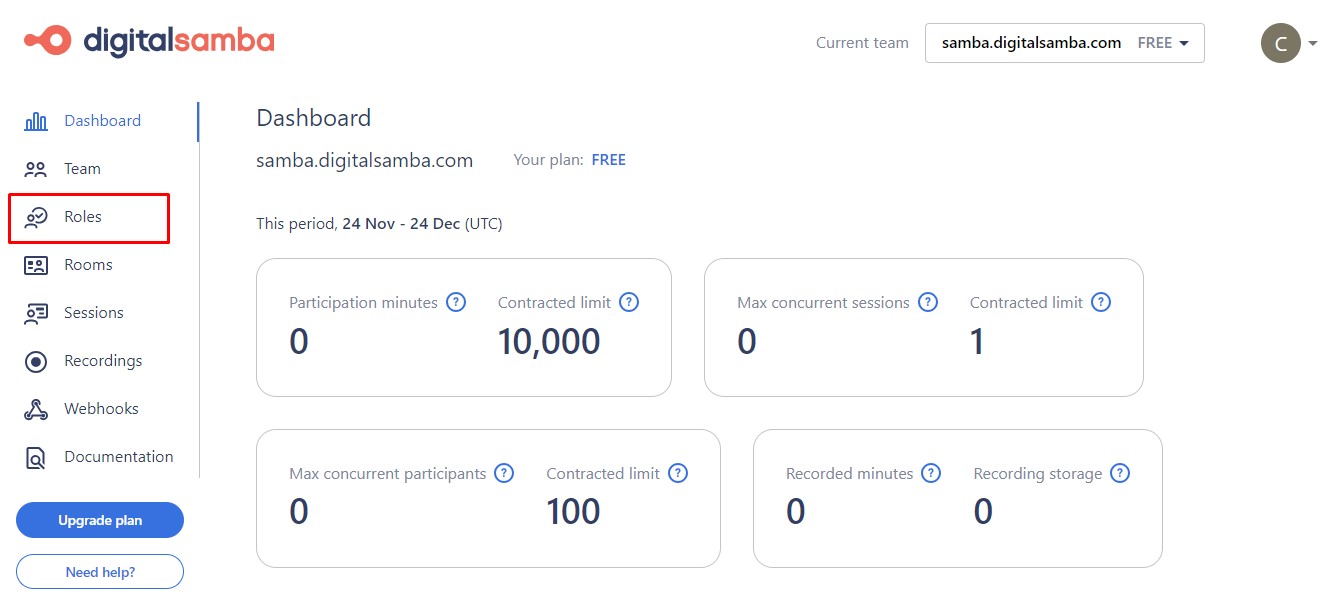
Managing roles in Digital Samba Dashboard
Role management in Digital Samba’s prebuilt video conferencing platform can be done using the API or the dashboard. The API provides a programmatic way of managing roles, while the dashboard offers a user-friendly interface you can use to customise roles as needed. In this section, we’ll learn how to manage roles using the Digital Samba dashboard. Without further ado, let’s get started!
Creating a new role
To create a new role using your Digital Samba dashboard, follow the steps below:
1. Visit www.digitalsamba.com to log in to your existing Digital Samba account or to sign up for an account if you do not yet have one.
- Role Identifier - Enter a unique ID to identify this role across your organisation's teams and accounts. The ID will be needed in the JWT token when assigning this role to participants.
- Role Display Name - Specify how you want the role to appear when displayed in rooms and rosters. Preset names translate across languages, but custom names will remain as configured.
- Role Description - Optionally enter any descriptive notes about how this role will be utilised.
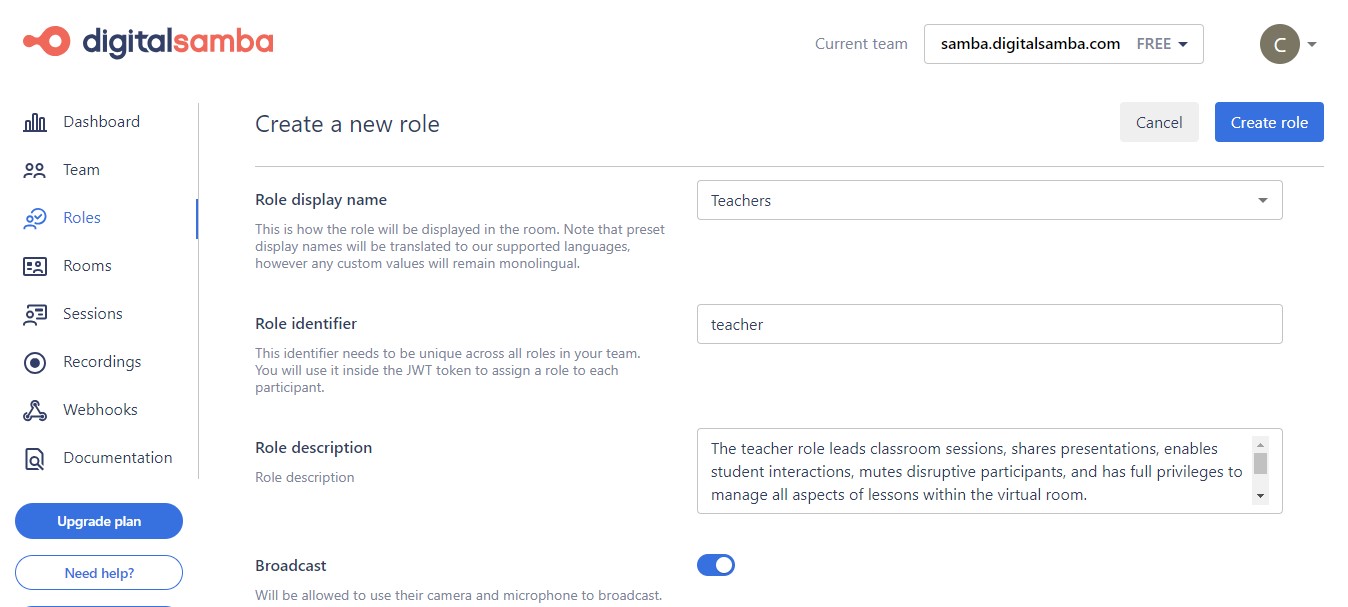
For example, you may create a 'Teacher' role and select all permission checkboxes to grant full access.
6. Once you’ve selected all the permissions you need, click on the 'Create role’ button to finalise and save your new custom role. It will now appear alongside other roles in the Role section.
Note: Creating a role does not assign it to rooms automatically. To add a role to your room, please refer to Creating a room / General settings.

Contact our team today!
Control the embedded video conference with the Digital Samba API
Editing existing roles
To edit an existing custom role in your Digital Samba Dashboard, follow the steps below:
1. Go to the Roles section on your dashboard, which displays all existing roles.
2. Scroll to find the specific role you want to edit. Now, click the three-dot icon to open action options.
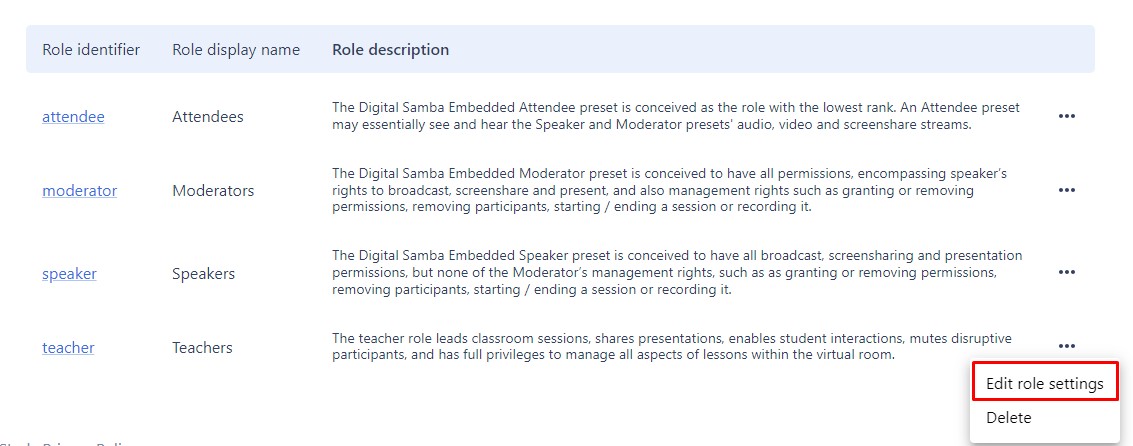
3. From the action menu, choose 'Edit role settings' to open the editor.
4. Adjust Role Details: On the edit page, you can adjust the same configuration details as when originally creating a custom role:
- Identifier
- Display Name
- Description
- Permissions
Make any changes needed.
5. Finally, click on the ‘Update role’ button to update the role. The edited role with new configurations will now take effect.
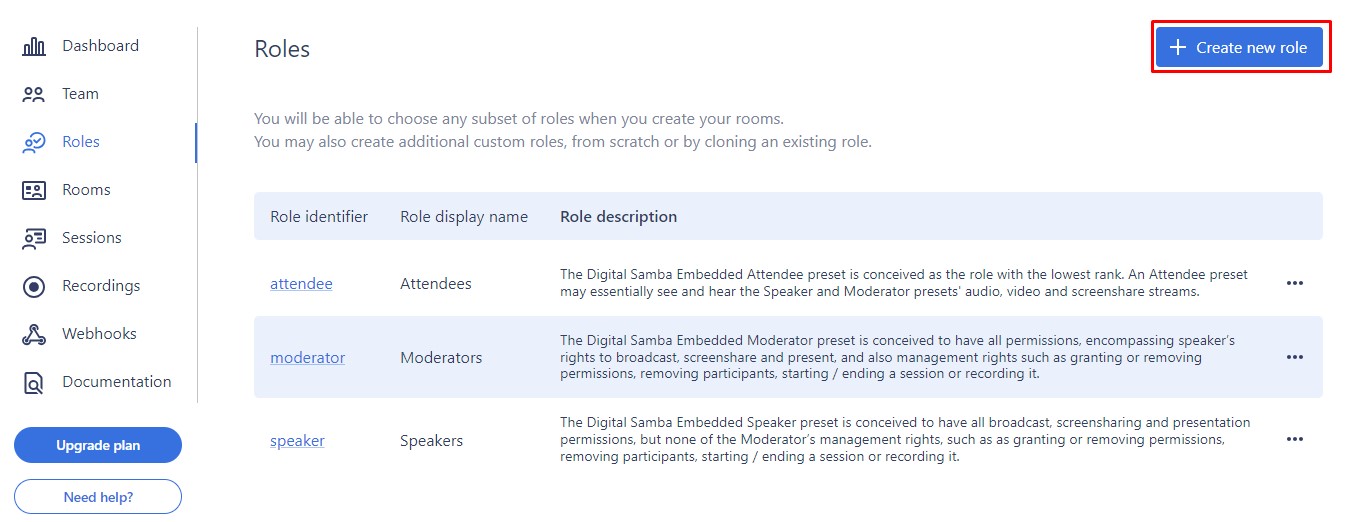
View existing roles
To view your team's list of available roles, navigate to the Roles section in the dashboard. Here you can see the Digital Samba preset roles and the ones your team have created.
Deleting a role
To remove a role, go to the Roles section in the dashboard and find the role you wish to delete. Click on the three-dot menu icon to the right of the role and select 'Delete'.

Note: You cannot delete a role if it is set as the default role for any room or in the default room settings. However, you can delete roles that are assigned to existing rooms or users - the application will display a warning that the role is currently in use.
Conclusion
Custom roles in Digital Samba let you manage what users can do. With roles, you decide who can broadcast sound and video, share material, control permissions, and more. This flexibility helps tailor meetings to your needs and gives everyone the right access level. When hosting a webinar, training, or team meeting, roles help make an engaging, productive setting for all.
Share this
How to Use Custom Roles in Digital Samba Developer API
How to configure your Digital Samba Rooms using Dashboard